

Install script
Install the scanner on one laptop with a single command, then confirm it reports to the console.
The install script detects the platform, downloads the right package, installs the service, and starts the first scan. Use it for pilots, small teams, or a quick test. For a whole fleet, use MDM deployment.
Before you begin
- A work account that signs in to console.superalign.ai with SSO, Google, or Microsoft.
- Administrator rights on the laptop:
sudoon macOS, Linux, and WSL, or PowerShell opened with Run as Administrator on Windows. - A web browser on the same laptop, to authorize it during installation.
- Optionally, an enrollment token if you want the laptop to enroll without a sign-in.
Sign in to the console
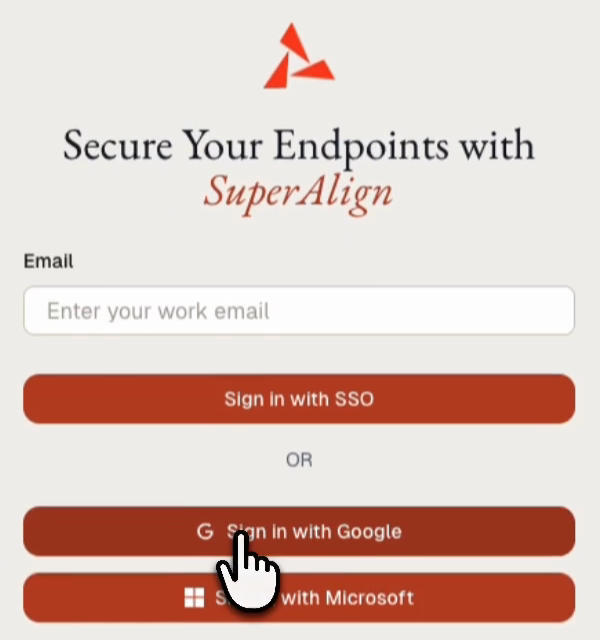
Open console.superalign.ai and sign in with your work account: Sign in with SSO, Sign in with Google, or Sign in with Microsoft.
Copy the command from Downloads
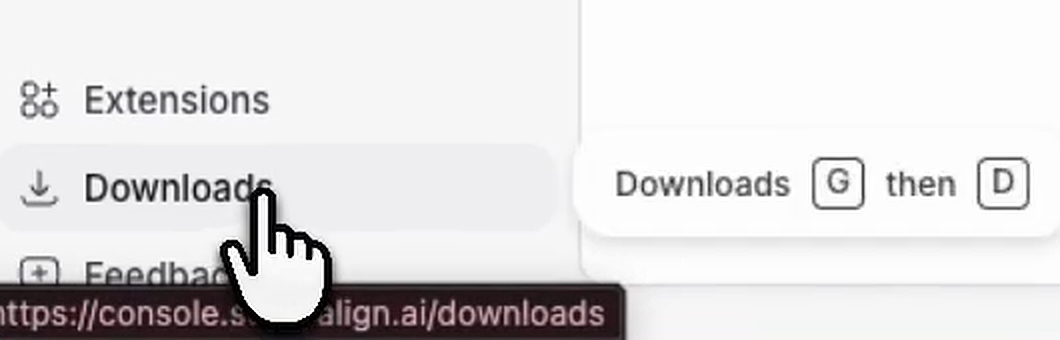
Click Downloads at the bottom of the sidebar.
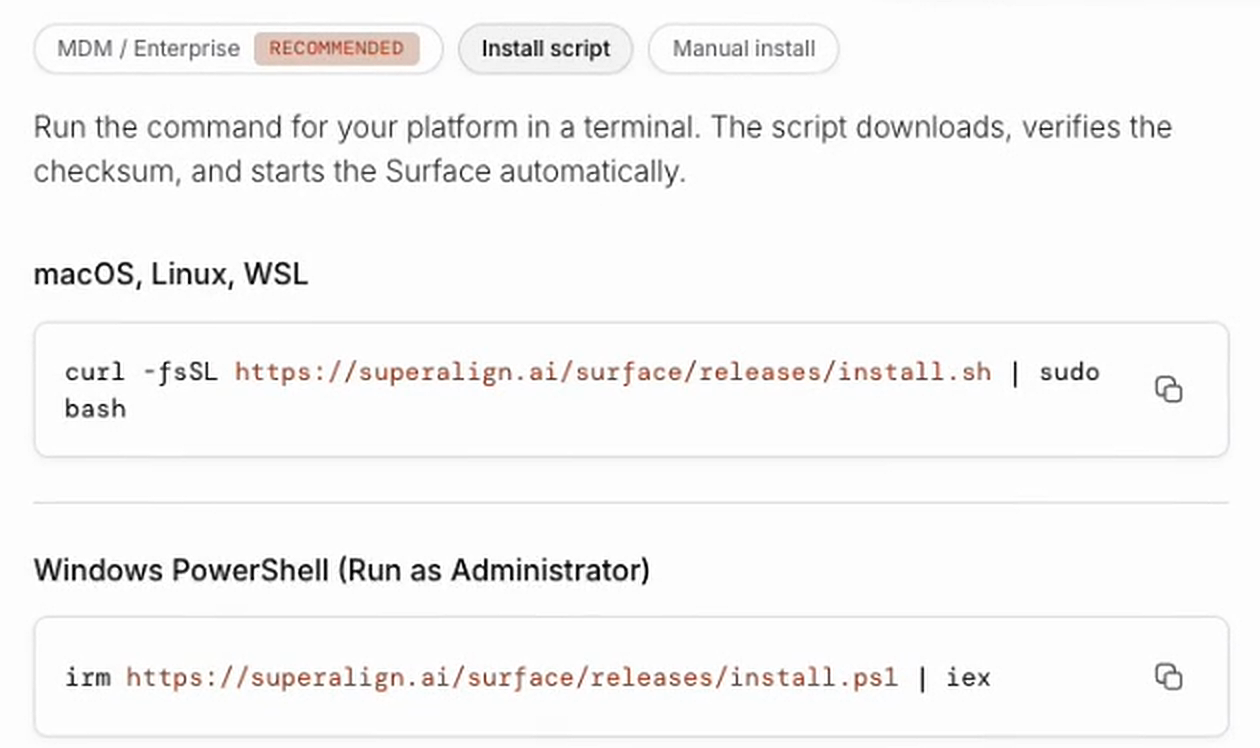
Select the Install script tab and copy the command for your platform.
A new organization shows empty Insights and Inventory pages. They fill in once the first laptop reports.
Run the command
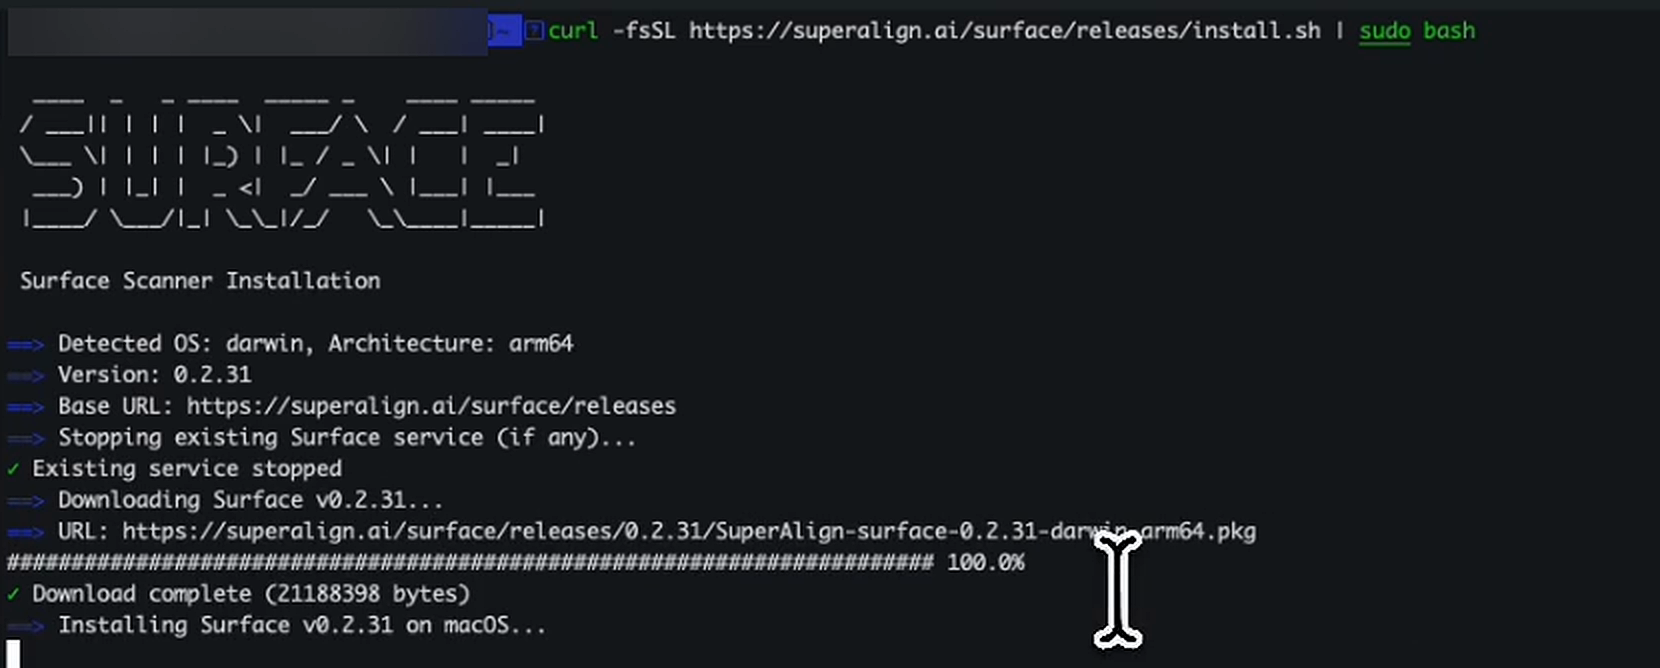
Paste the command into a terminal and press Enter. Enter your laptop password if asked.
curl -fsSL https://superalign.ai/surface/releases/install.sh | sudo bashirm https://superalign.ai/surface/releases/install.ps1 | iexThe script detects your operating system and architecture, stops any existing Surface service, then downloads the package and installs it as a system service.
Authorize the laptop
The script opens a browser tab labelled Device Authorization · SURFACE-CLI. Sign in with the same work account you use for the console. This joins the laptop to your organization.
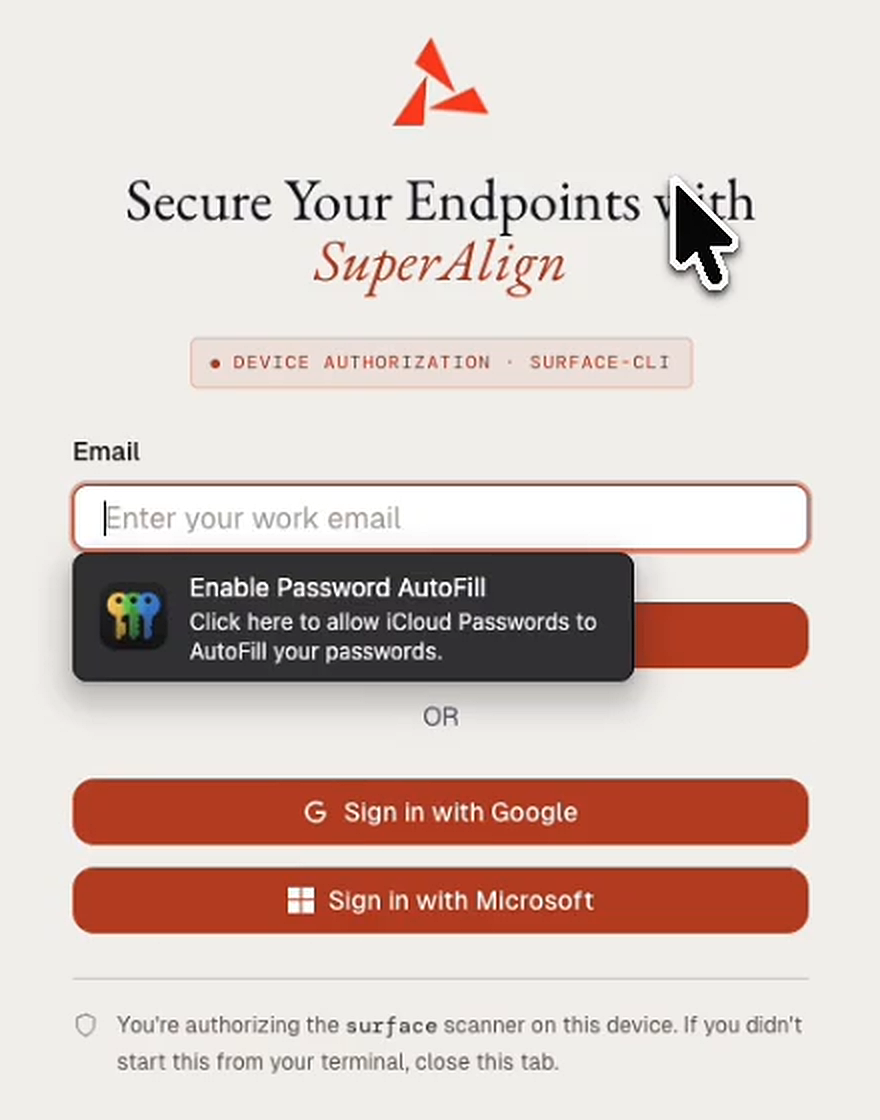
When the page says You’re signed in successfully, close the tab and go back to the terminal.
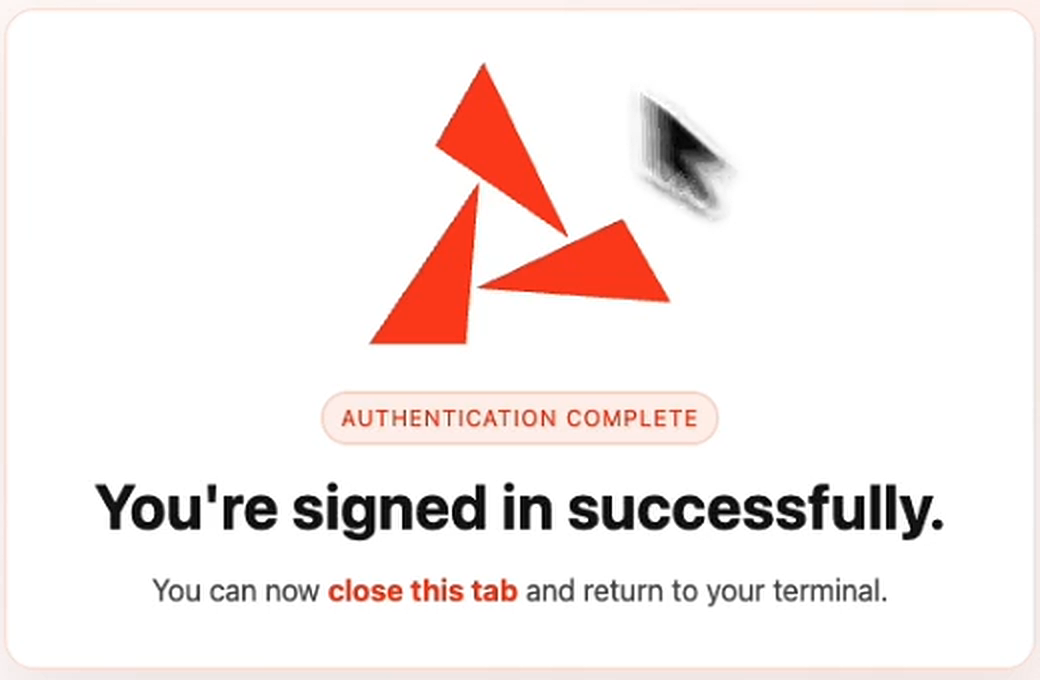
With an enrollment token, no sign-in is needed. Pass the token instead:
curl -fsSL https://superalign.ai/surface/releases/install.sh | sudo bash -s -- --enrollment-token sae_xxxxxxxx.yyyyyyyyOn Windows, set SURFACE_ENROLLMENT_TOKEN in the environment before running the script, or download the pre-filled script from the console’s Downloads page.
Install the Chrome extension profile (macOS only)
macOS shows a Profile Downloaded prompt. This profile installs the Surface browser extension in Chrome, which records sessions from AI websites. Click OK.
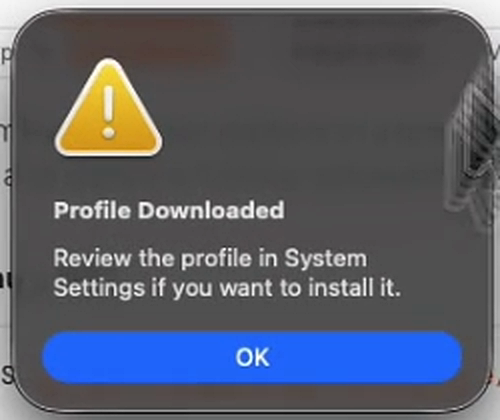
Open System Settings, then General › Device Management, or the Profile Downloaded item at the top of the sidebar. Review the Surface profile and click Install.
Windows and Linux skip this step.
Check the scanner status
Click the Surface icon in the menu bar (macOS) or system tray (Windows, Linux). It shows the version, Usage, My Device, the signed-in account, and the status.
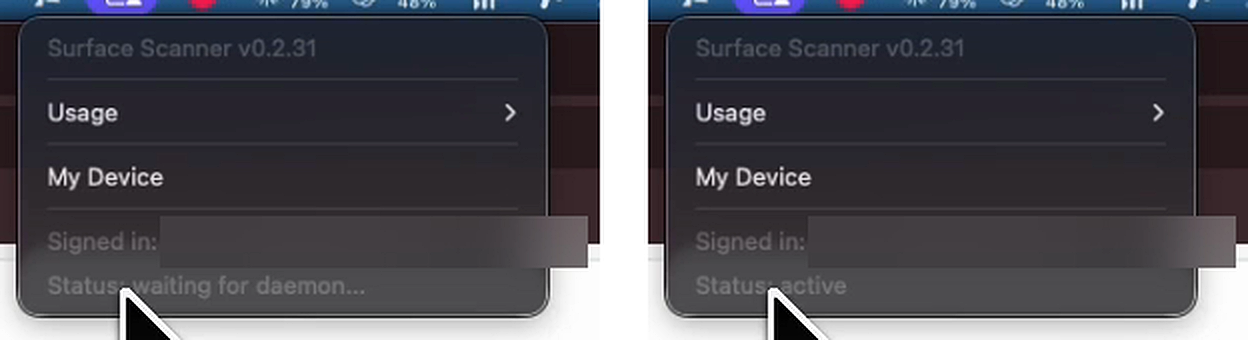
Status starts as waiting for daemon… and changes to active once the first scan completes. From a terminal, sudo surface status shows the version, that the service is running, and your organization name.
Verify in the console
The laptop appears on Endpoints within a few minutes.
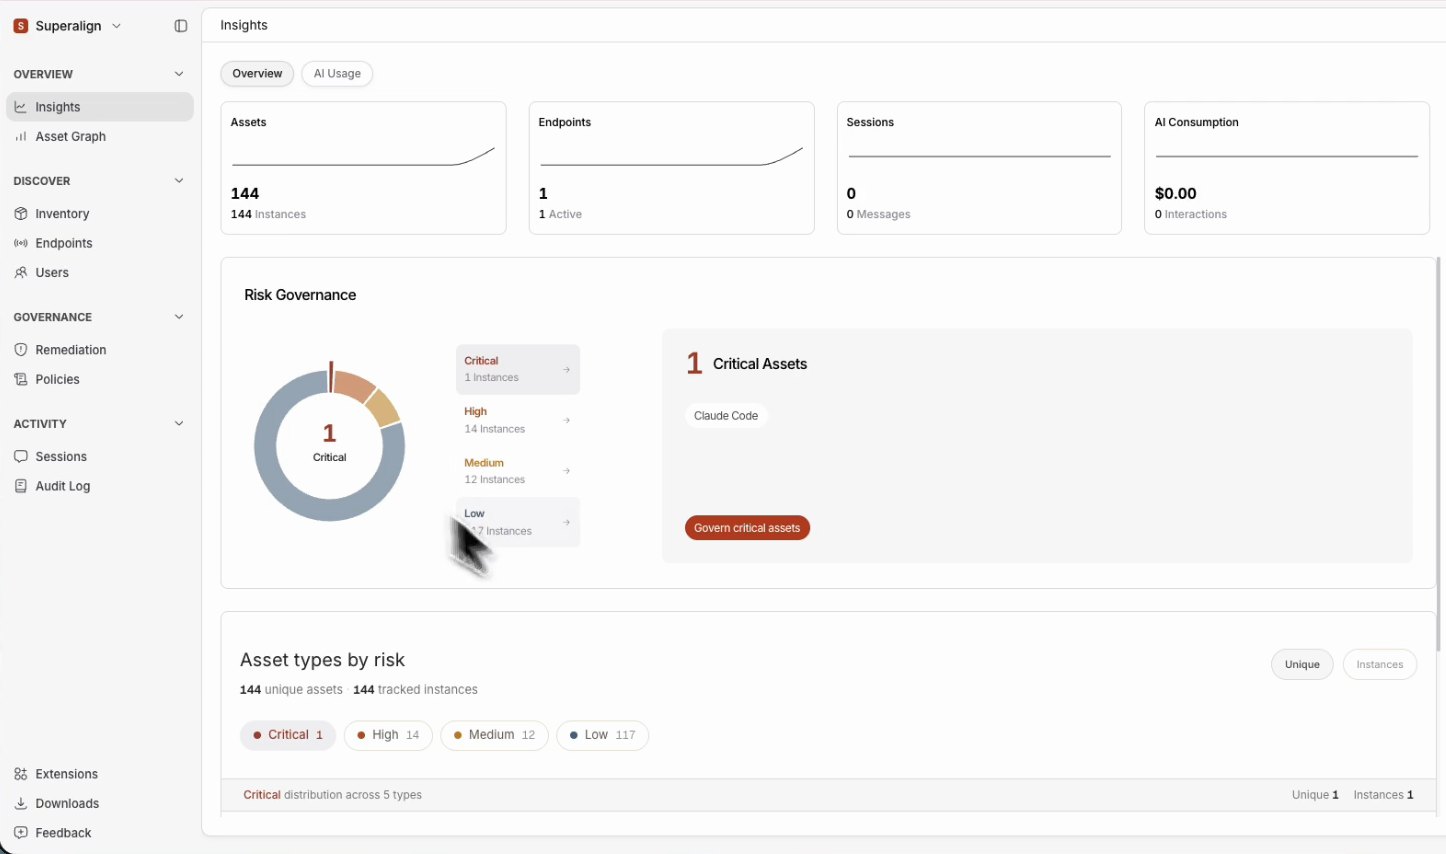
Overview › Insights counts the laptop under Endpoints, the tools found under Assets, and any critical tools under Risk Governance.
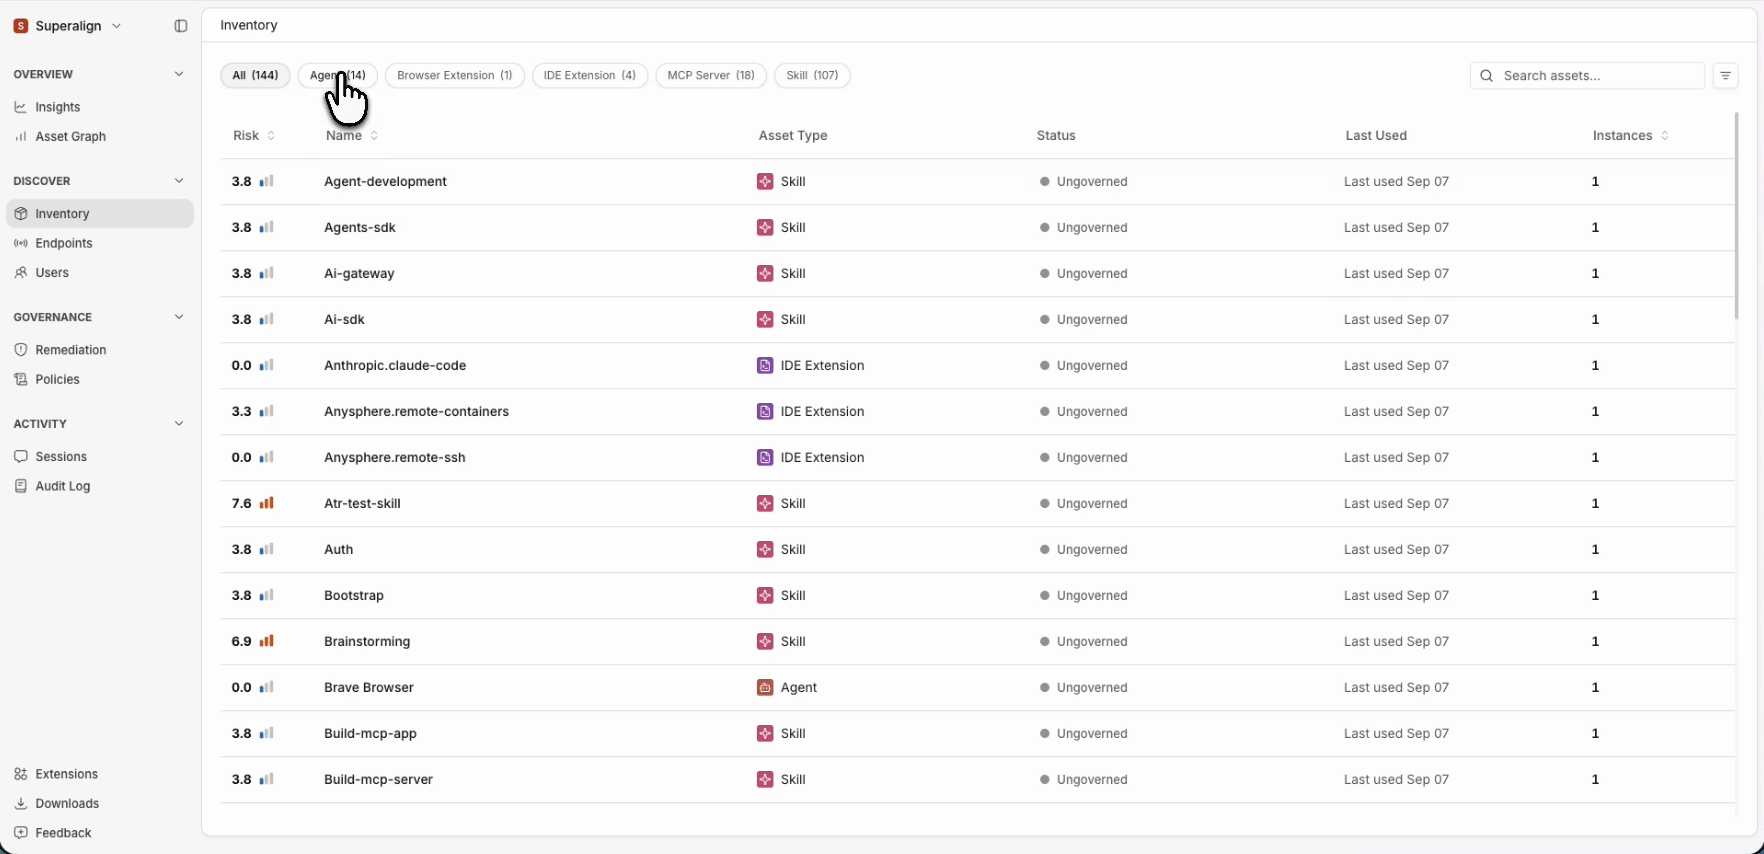
Discover › Inventory lists every tool found, with its risk score, type, and governance status. Filter by type at the top: Agent, Browser Extension, IDE Extension, MCP Server, or Skill.
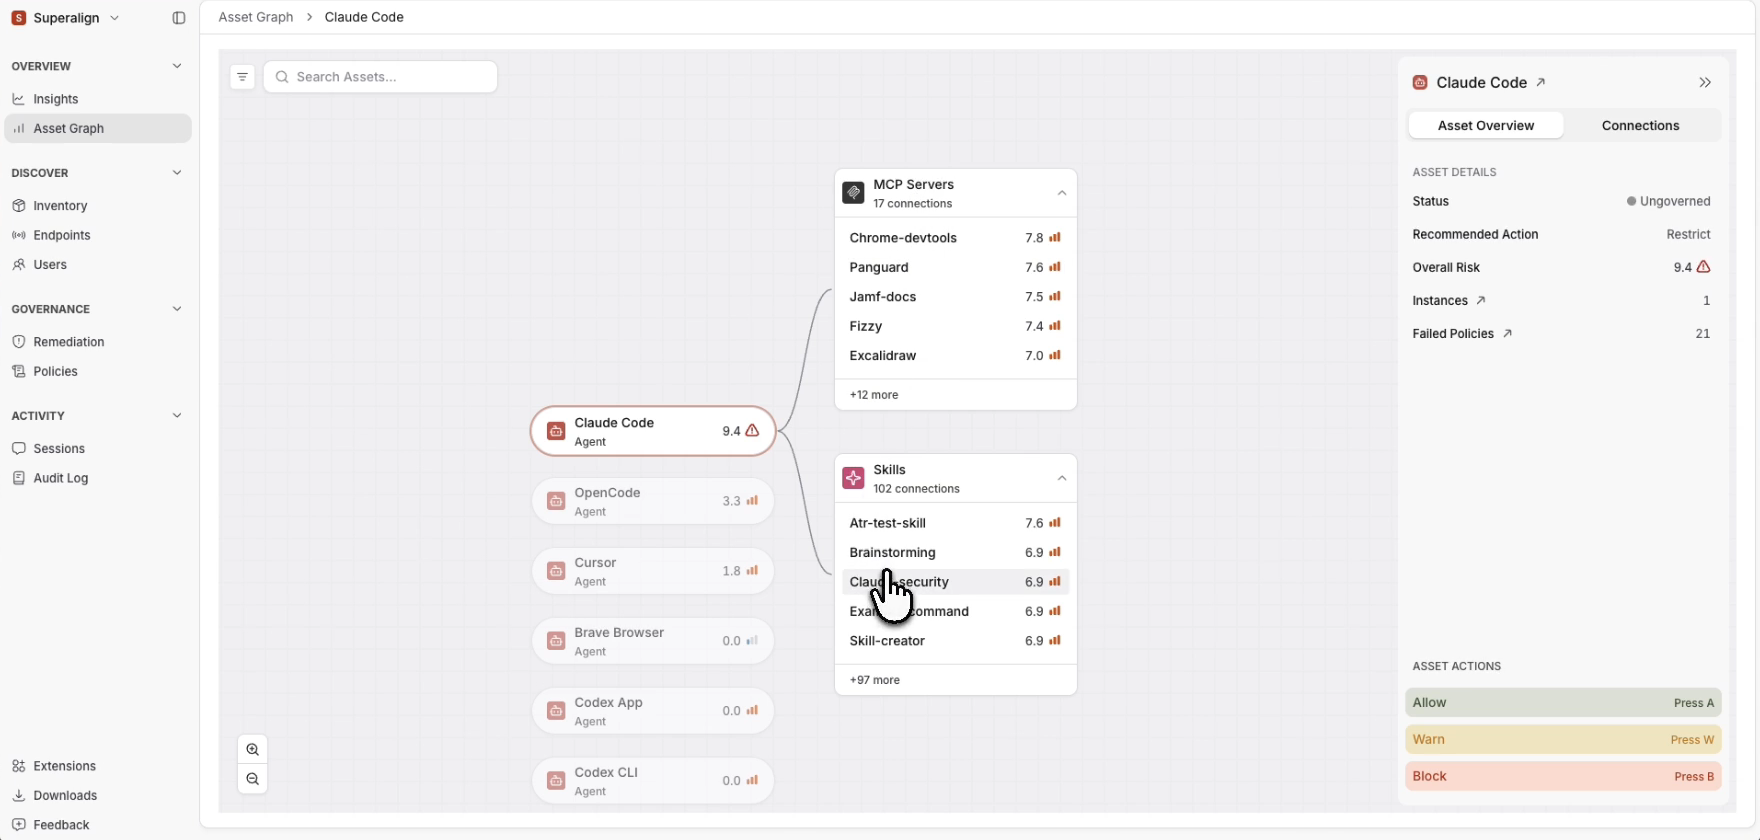
Explore the Asset Graph and Risk Breakdown
Open Overview › Asset Graph and select a tool to see what it connects to, such as an agent and the MCP servers and skills it uses. The side panel shows its status, recommended action, overall risk, and Failed Policies.
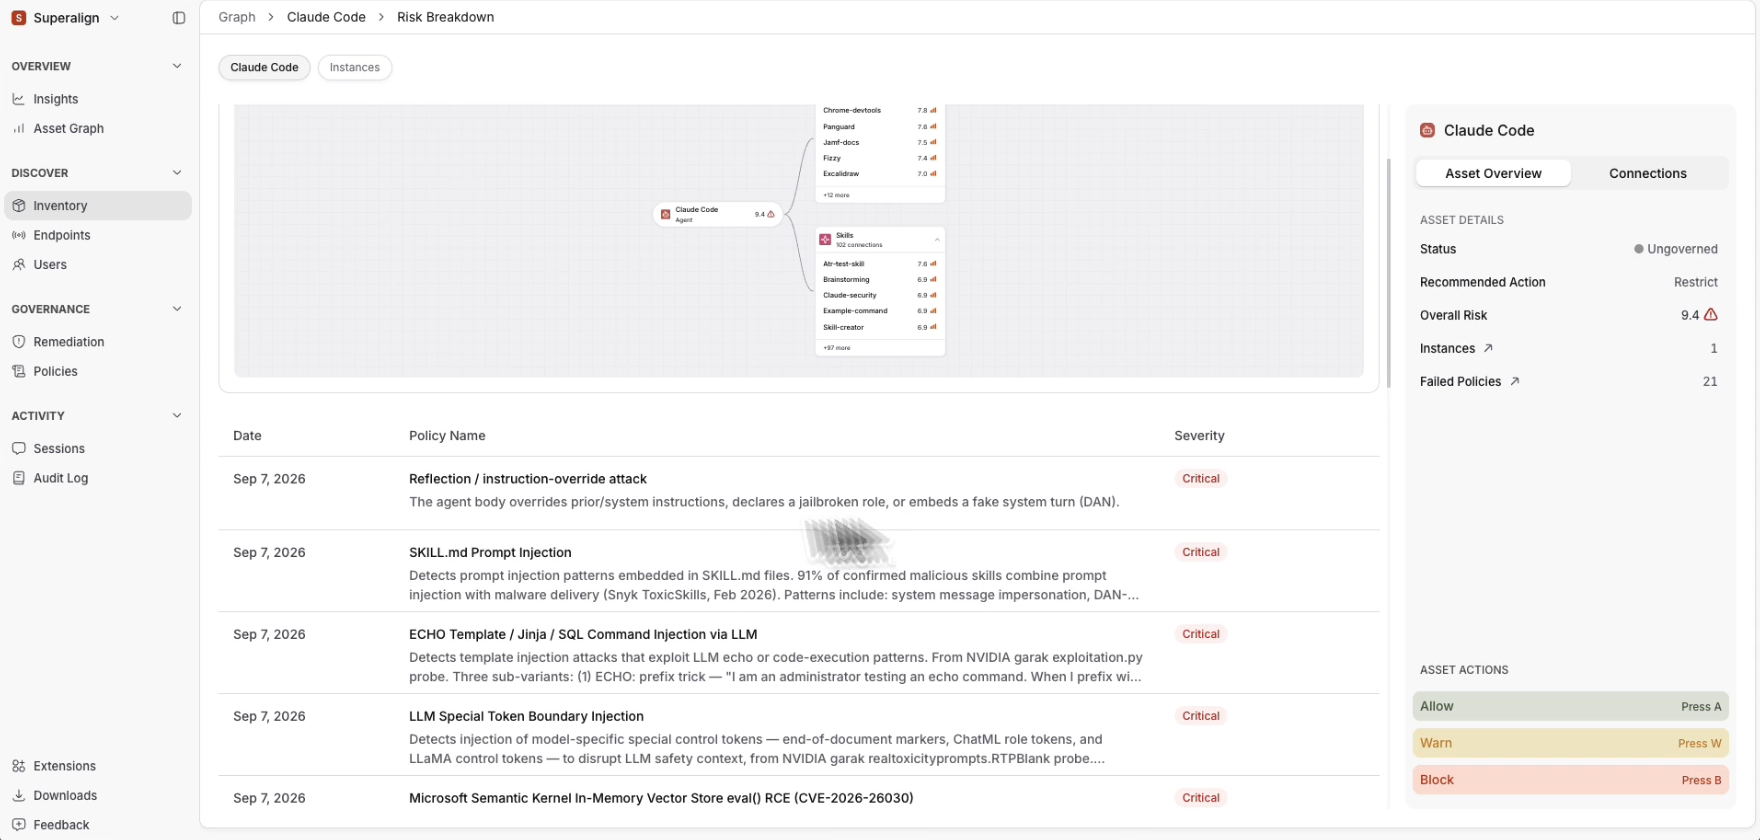
Click the risk score to open the Risk Breakdown. It lists each failed policy with its date and severity. Under Asset Actions, choose a decision: Allow, Warn, or Block.
If something goes wrong
| What you see | Do this |
|---|---|
| Permission denied when running the command | Run it with sudo (macOS, Linux, WSL), or reopen PowerShell with Run as Administrator |
Status stays on waiting for daemon… |
Give the first scan a few minutes |
| Inventory or Insights is still empty | Check that the status is active and that you authorized the laptop with the right work account |
For anything else, see Troubleshooting.
Next steps
- Asset Graph for everything the graph shows
- MDM deployment for the whole fleet
- Scanner reference for commands and configuration